Step 3: Deploy the enclave image on Oyster
Step 3.1: Host the image where it can be publicly downloaded
Upload the enclave.eif to a hosting service of your choice and make it publicly accessible.
Test whether the public hosting works by running
wget <eif url>
If the above command can successfully download the enclave image, you can proceed to the next step.
Step 3.2: Create a job
Navigate to the marketplace page and select the Polygon chain in the dropdown on the top left. You should see a table filled with operators and the compute resources they offer, that looks something like this:

Step 3.3: Connect your wallet
Click connect and connect your wallet. The address used needs MATIC to pay gas fees and USDC to pay for the job.
Oyster uses native USDC on Polygon. If you have bridged USDC (also known as USDC.e), you have to swap it on a DEX to the native flavor.
Step 3.4: Select an instance
Using the search bar, find a c6a.xlarge instance for amd64 builds or a c7g.xlarge instance for arm64 builds in the ap-south-1 region. Click the Deploy button next to it. It should open up a deployment popup with prefilled information that looks like this:
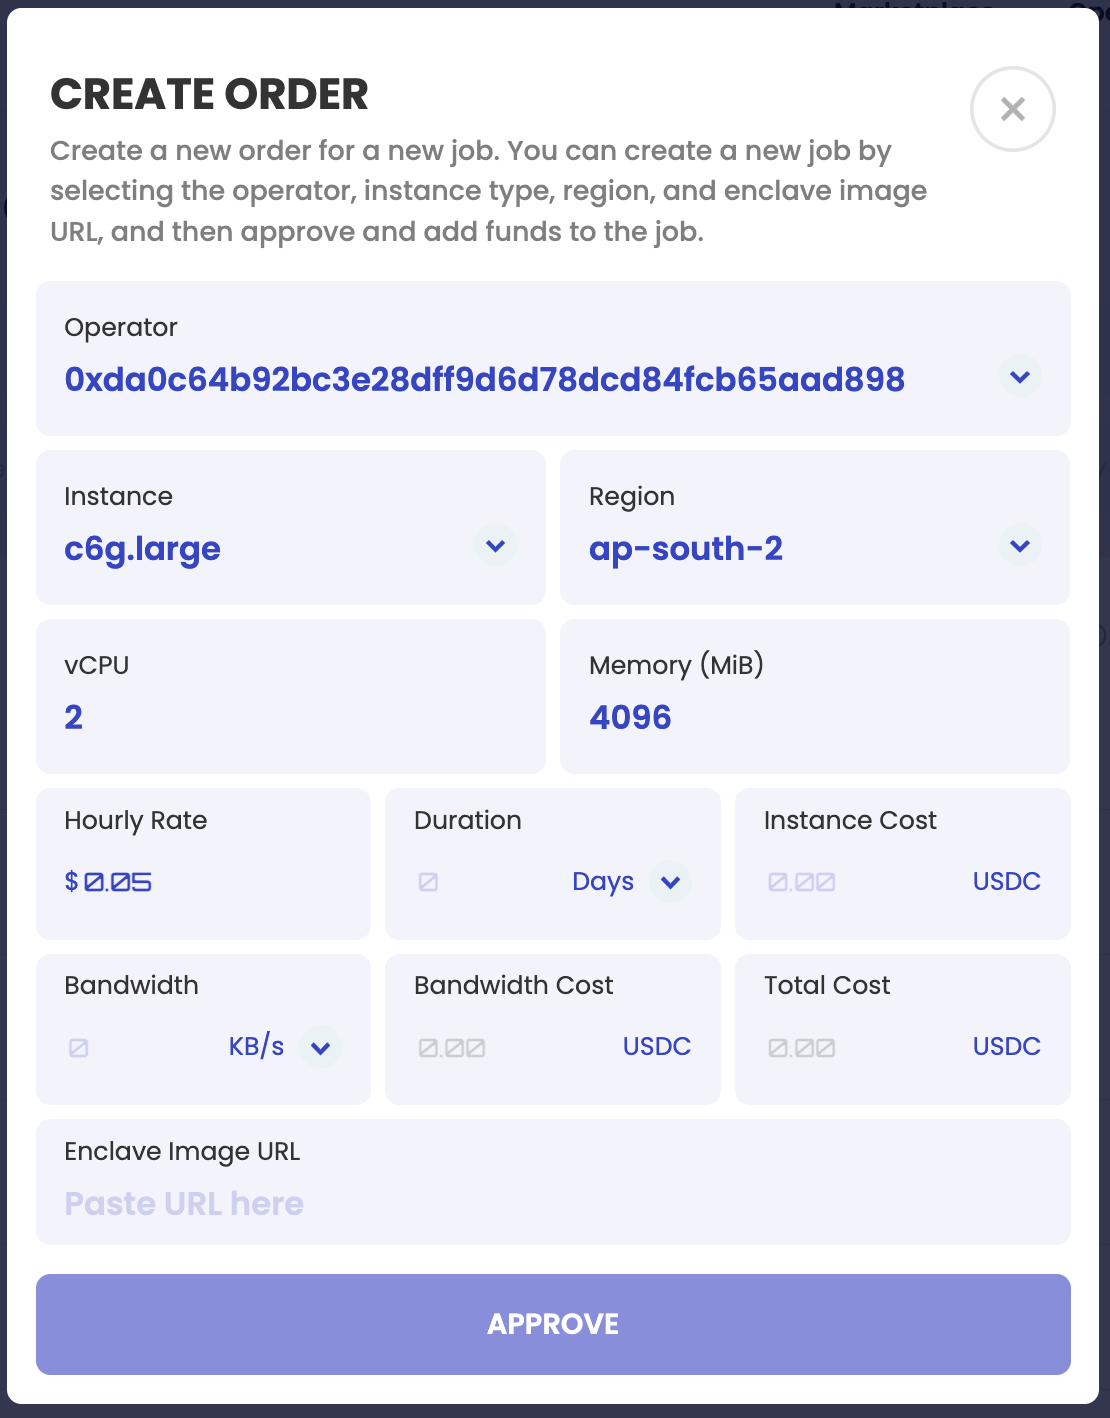
Step 3.5: Fill in details
The default details are mostly good enough for us. Fill in
- 1 day duration
- 20 KB/s bandwidth
- the enclave url from step 3.1 above
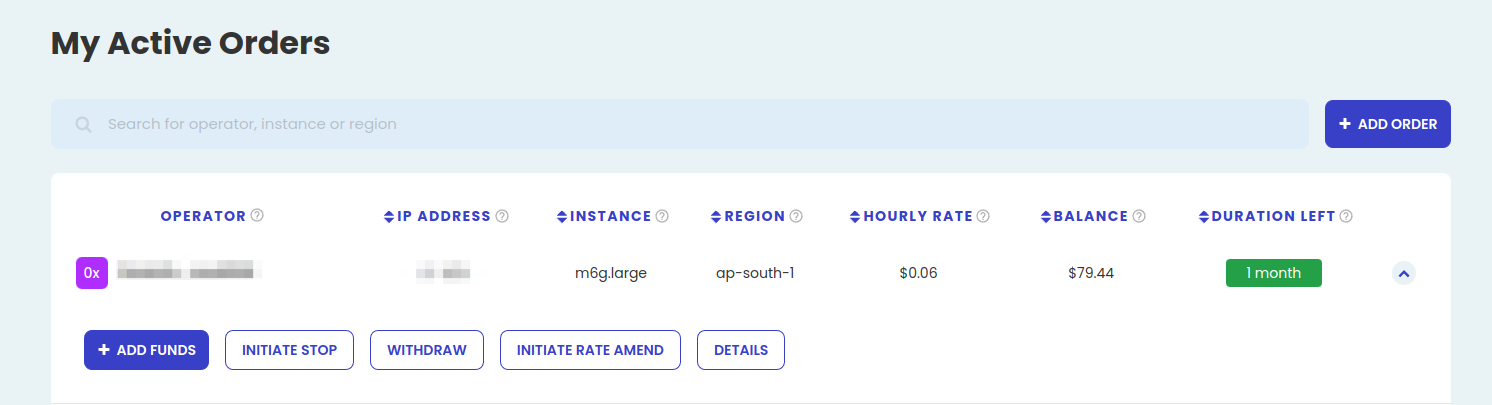
Step 3.6: Place the job
Approve USDC transfers and place the job. It should be visible as an active job after confirmation: