Web2 Request
In this tutorial, you will learn how to execute serverless function using Web2 serverless request and verify the responses. We have already deployed the "Hello World" serverless function.
Prerequisites
Before proceeding with this tutorial, make sure you have:
- Have
curlinstalled on your system for making HTTP requests - Have
xxdandbase32command line tools installed for encoding/decoding
Create a web2 request
First, convert the transaction hash represented as a hexadecimal string to a Base32 encoding without padding.
echo -n "0x2e0d72c634c4f78eb312ddfa5a0bd7fd228a25548c516857e4e5a73f78751423" | xxd -r -ps | base32 | sed 's/=*$//'
Its output should be FYGXFRRUYT3Y5MYS3X5FUC6X7URIUJKURRIWQV7E4WTT66DVCQRQ.
Next, construct a URL by prepending the Base32 encoded string to "oyster.run" as the subdomain. Send a GET request to this URL to execute the serverless function, as shown below:
curl FYGXFRRUYT3Y5MYS3X5FUC6X7URIUJKURRIWQV7E4WTT66DVCQRQ.oyster.run -v
You should see the following response:
* Host FYGXFRRUYT3Y5MYS3X5FUC6X7URIUJKURRIWQV7E4WTT66DVCQRQ.oyster.run:80 was resolved.
* IPv6: (none)
* IPv4: 13.232.36.95
*   Trying 13.232.36.95:80...
* Connected to FYGXFRRUYT3Y5MYS3X5FUC6X7URIUJKURRIWQV7E4WTT66DVCQRQ.oyster.run (13.232.36.95) port 80
> GET / HTTP/1.1
> Host: FYGXFRRUYT3Y5MYS3X5FUC6X7URIUJKURRIWQV7E4WTT66DVCQRQ.oyster.run
> User-Agent: curl/8.5.0
> Accept: */*
>
< HTTP/1.1 200 OK
< Server: nginx/1.18.0 (Ubuntu)
< Date: Mon, 28 Oct 2024 11:51:20 GMT
< Content-Type: text/plain;charset=UTF-8
< Content-Length: 11
< Connection: keep-alive
< x-oyster-signature: 3d6d5c6041320b5e3cd066cde111ae75c1853368624d8d859f39c1c3a0c6aa0f6c3e5acd143aea14c9d6d572704a4130bbf7e9f4da06a9cd4075057847ca6b561b
< x-oyster-timestamp: 1730116280
<
* Connection #0 to host FYGXFRRUYT3Y5MYS3X5FUC6X7URIUJKURRIWQV7E4WTT66DVCQRQ.oyster.run left intact
Hello World
Verify the response
The serverless contract provides a verify function that allows you to validate the authenticity of responses by checking the signature against the list of registered serverless enclave keys. This ensures the response came from a legitimate Oyster serverless enclave.
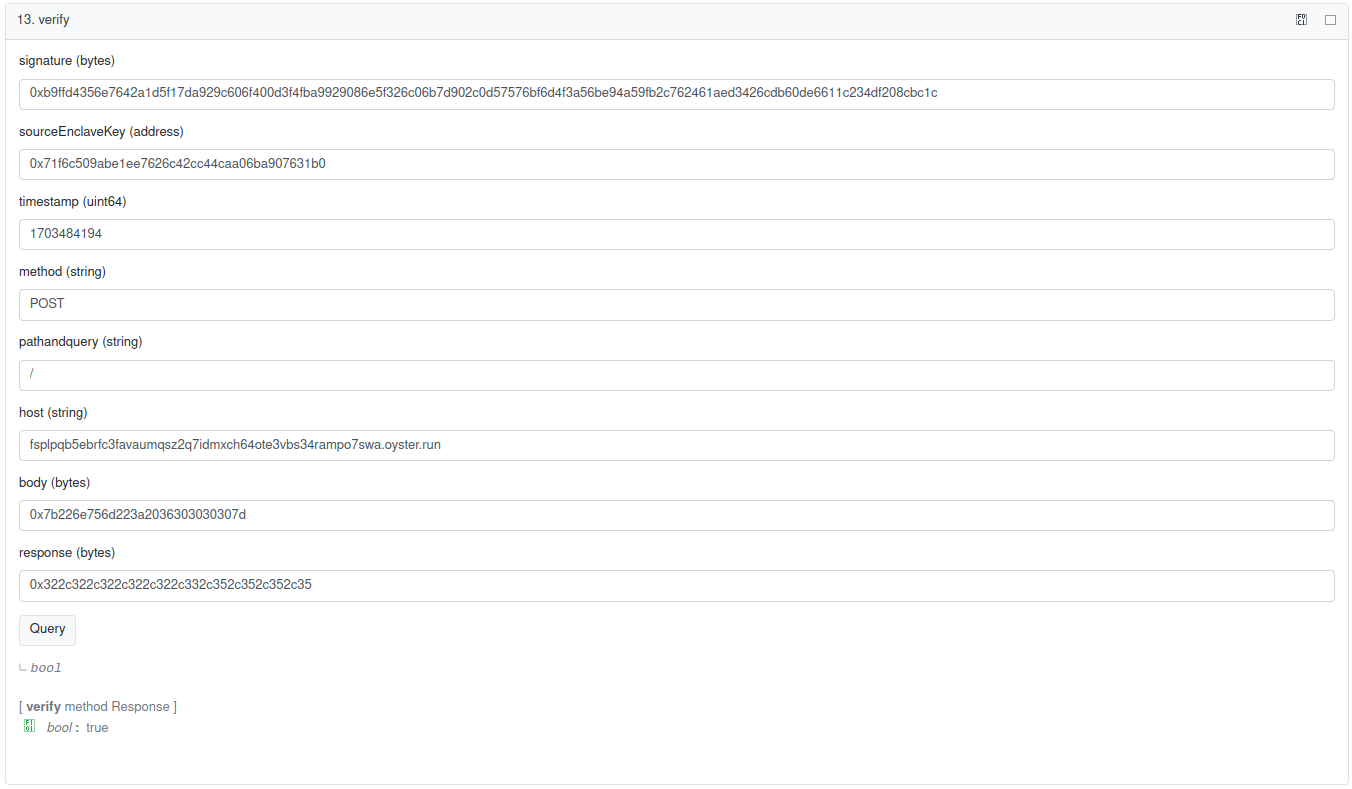
Congratulations! You have successfully executed a Web2 request to your serverless function deployed on the Oyster Serverless. Next, you will learn how to create serverless function that calls external APIs.